Find My is a fantastic and underrated feature on your iPhone that comes in handy when you need it most. You can use the app to track down any lost or misplaced devices, just as its predecessor, Find My iPhone, intended. The new version, though, combines Find My iPhone and Find My Friends to offer one powerhouse of geolocation.
Discover how to keep track of your friends and family easily. Also, using Find My is the perfect way to keep track of your favorite Apple gadgets, like that new set of AirPods or even your iPhone that was just lost in the couch.
How to use Find My app
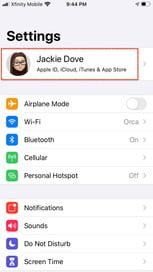
Step 1: Launch Settings and choose your Apple ID.
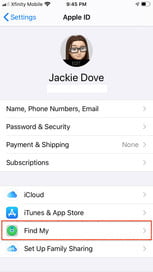
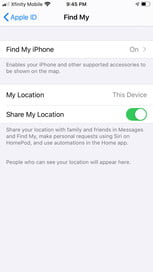
Step 2: Choose Find My and switch it on.
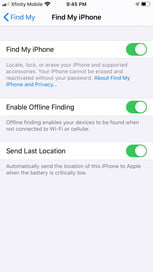
Step 3: To view your device when it’s offline, enable Offline Finding.
Step 4: To have the location of your device sent to Apple when the battery is low, turn on Send Last Location.
Step 5: If your Apple Watch and your AirPods are paired with your device, they are automatically set up when you enable Find My.
How to find your iPhone or other Apple device
The essence of Find My is to assist in locating iPhones, iPads, and watches that you lost, misplaced, or had stolen. The Find My function works with Location Services, so to get started, you’ll first tap Settings > Privacy > Location Services and toggle the control on. You can use Find My to have your device play an alarm sound, even if it was in silent mode the last time you used it. You can also set a notification for when Find My locates your device — helpful if your lost device’s battery is low or dead or the device is not connected to Wi-Fi or a cellular network. Whenever your device is detected, you get notified.
When marked as lost, your device will be locked, which requires your passcode to view its contents. If your phone is offline, it will lock on power-up, and you will get an email notification to track your phone’s location. If you set up Find My to do so, your phone number and message can be displayed on the locked device so that anyone who finds it can notify and even return it to you. You can also remotely erase your device so no finder can intrude on your private life, photos, emails, or any other documentation. If you had credit, debit, or prepaid cards on Apple Pay, Lost Mode suspends that feature so no one can run up charges on your account. Here’s how to set up Find My to handle a lost device.
Step 1: Launch the Find My app.
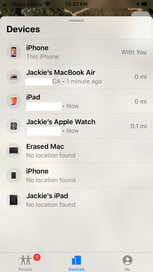
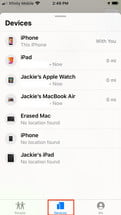
Step 2: Tap the Devices tab to see where all your devices are located on a map.
Step 3: Tap the device you’re missing.
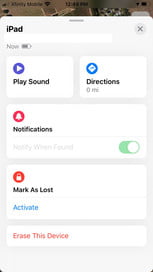
Step 4: Swipe up and tap one of the following buttons:
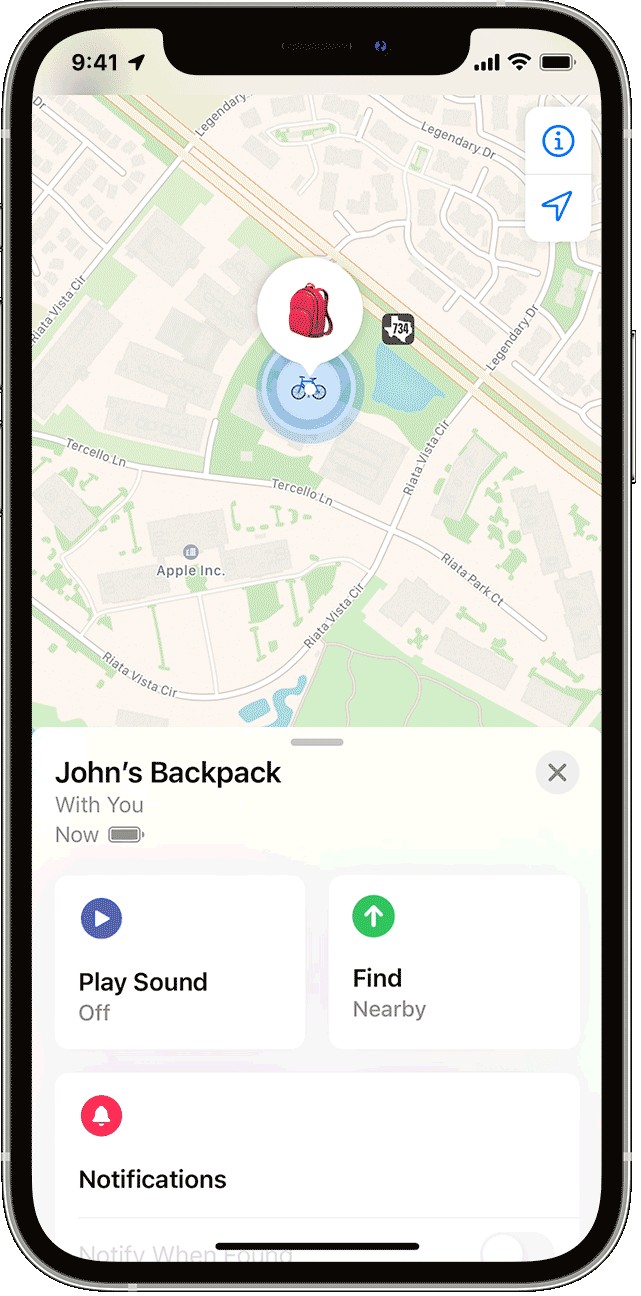
Play Sound: Your device plays an alert signal. (Do not wear AirPods, as the sound is loud and piercing.)
Directions: The Maps app gives you directions to where your device is located.
Notifications: Tap if you’re seeking your device and want to be notified if someone finds it.
Mark As Lost: Tapping Activate marks your device as Lost.
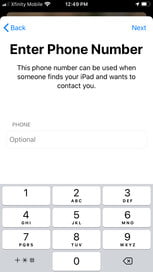
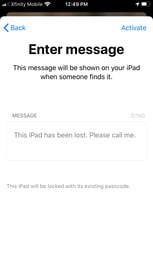
Step 5: If you marked the device as Lost, tap Continue.
Step 6: You can enter your phone number or type in a message for whoever finds your device, so they can notify and return the device to you.
Step 7: To remotely erase a device, launch Find My on your iPhone or iPad.
Step 8: Tap the Devices tab and then the device you want to erase.
Step 9: Swipe up and tap Erase This Device. You can also enter your phone number or a message.
When you erase a device, all information, including credit, debit, or prepaid cards for Apple Pay, is also deleted, and you will no longer be able to find it using the Find My app or Find iPhone on iCloud.com. If you remove the device from your account after erasing it, the Activation Lock will shut off, allowing another person to use your device. Back up your iPhone to iCloud regularly in case you ever need to restore erased data on an old or new phone.
How to share your location
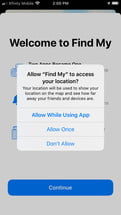
The new consolidated Find My app in iOS 13 lets you share your current location with friends and family. When you first launch the app, it prompts you to enable Location Services and choose when the app can use your location: Allow While Using App, Allow Once or Don’t Allow. Allow While Using is the preferred and most limited use, causing the same prompt to reappear every time you open Find My on your device. You can change this by going to Settings > Privacy > Location Services.
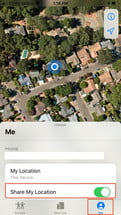
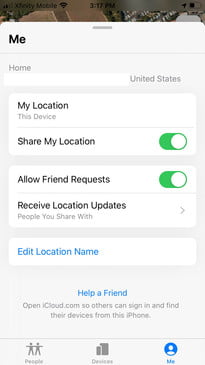
Step 1: Tap on Me at the bottom right of the screen.
Step 2: Toggle on Share My Location.
Step 3: Choose the device you want to share your location from. With multiple devices, you can only select one at a time.
Step 4: When you share your location from an iPhone paired with a GPS Apple Watch, your location switches to the watch whenever it’s out of range of the iPhone.
Step 5: You can easily switch off this option when you want your location to be private.
Sharing a location requires consent, so even if you share your location, that doesn’t imply that the person you are sharing with will reciprocate.
How to find family and friends
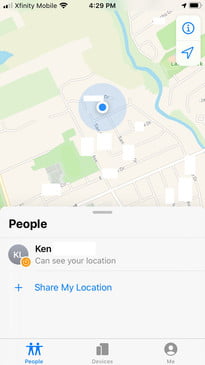
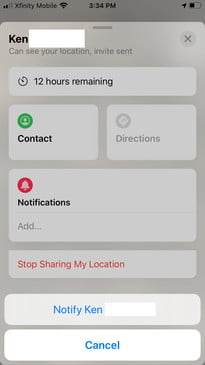
With iOS 13, you can use the Find My app to locate friends or family members, replacing the previous Find My Friends app in earlier iOS versions. To choose which contacts you want to locate, you first need to share your location with them. To see a friend’s location, they must invite you from the Find My app on their device. Here’s how to do it.
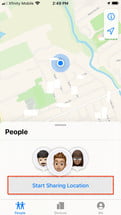
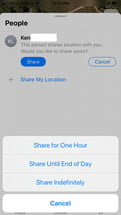
Step 1: Tap on the People tab in the bottom left of Find My and tap the Start Sharing Location button. Find My suggests contacts to share location with, but you can invite anyone.
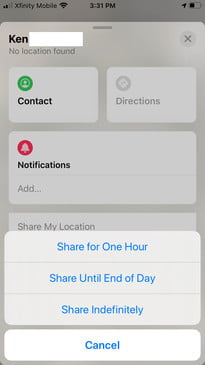
Step 2: Share your location for the following intervals: Share for One Hour, Share Until End of Day, or Share Indefinitely.
Step 3: View information under your contact’s name and ask permission to follow their location.
Step 4: If they approve your request, their location appears on your map. You can now stop sharing your own location if you wish.
Step 5: Apple designed the Find My app to automatically refresh locations for both people and devices minute by minute, but if that’s not working, tap the name of the person or device to reveal their card and refresh their location, or just close and relaunch the app.
Find My is a deep app that concentrates on locating and tracking both people and devices. Using it provides the best way to find a missing device and to take measures if you believe that the device has wound up in the wrong hands. It is also a good way to make sure you keep track of friends or loved ones while traveling or on a daily routine. However, you must set it up on all your devices before an emergency happens for it to be of optimal help to you.
Using AirTags with Find My
Apple’s long-awaited AirTags hit the shelves in 2021, and it’s no surprise that they are designed to work with the Find My app as a way of tracking … well, anything. This gives the Find My app some new functionality, but fortunately, it’s all quite intuitive to use. Once you have set up your AirTags, here are the basics of using Find My with them:
Step 1: Open up the Find My app.
Step 2: Select the Items tab.
Step 3: Look for the name of the AirTag you want to find, and select it. You will now see its location (or last known location) on a map with a timestamp for when it was last pinged. Since AirTags largely work by pinging off Apple devices, the more iPhones, etc., that are around, the more accurate this information will be.
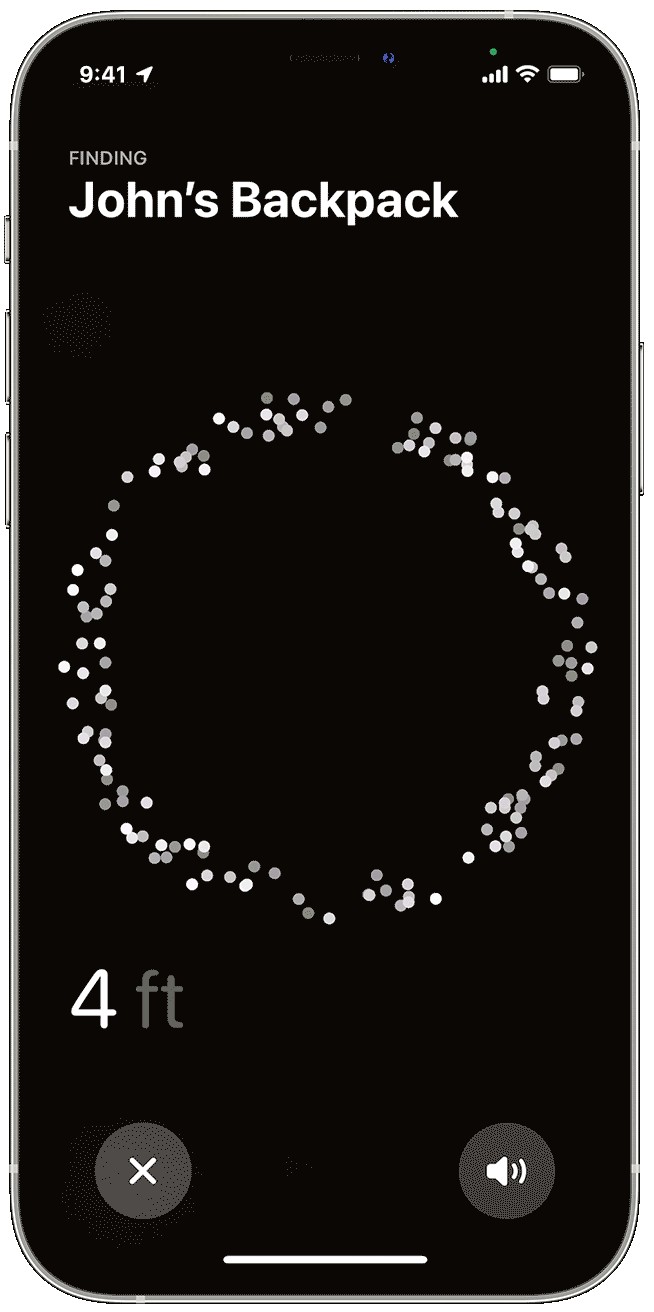
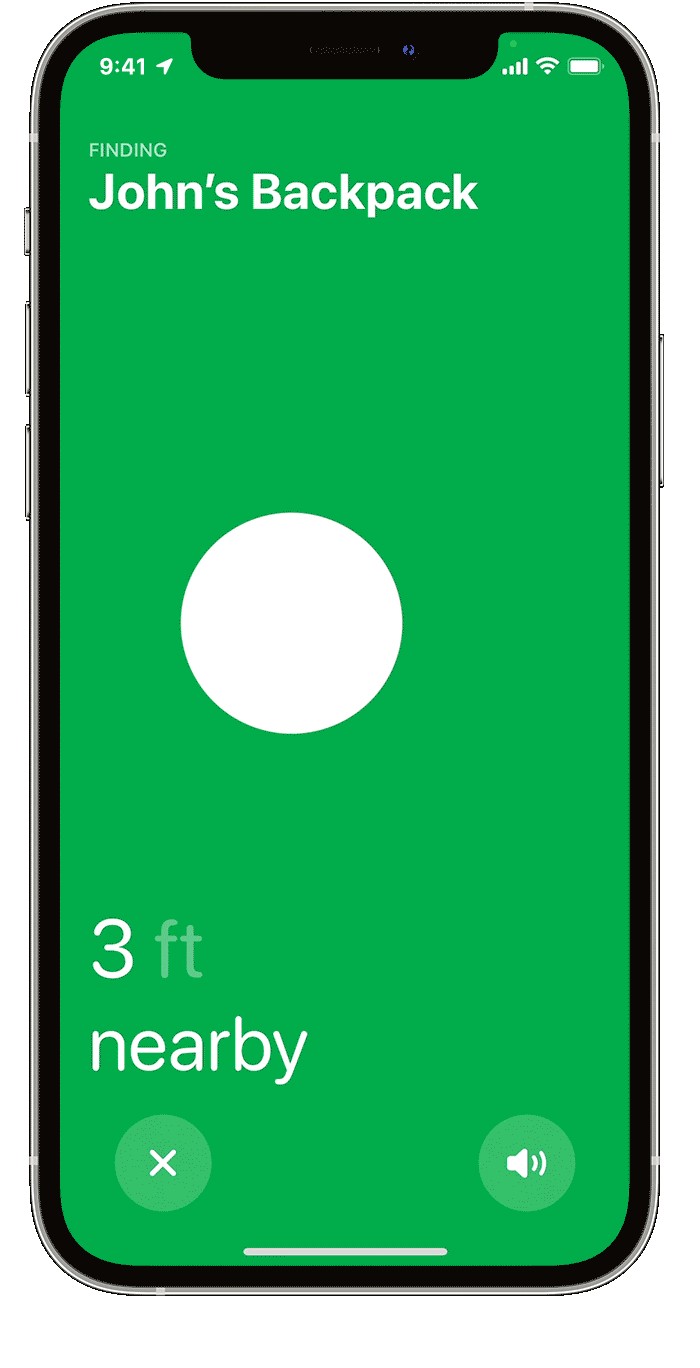
Step 4: If you are looking for a nearby AirTag, select the Find option with the up arrow icon. This will turn your iPhone into a little compass with an arrow that will swivel in the direction of your AirTag and give you a clue about how close it is. Location access will need to be turned on for this to work!
Step 5: You can also choose to play a sound to locate your AirTags, and similar options.
Find My and third-party developers
In 2021, Apple also opened up the Find My app for third-party developers, allowing them to incorporate built-in sensors in their products that the Find My app can detect. That will make it easier to find lost or stolen items without needing to rely on AirTags. In most cases, only a simple setup process will be needed, although individual instructions may vary. Current products that support Find My include:
- VanMoof’s electric bikes like the S3 and X3
- The Chipolo ONE Spot tracker
- The Belkin Soundform Freedom wireless earbuds

