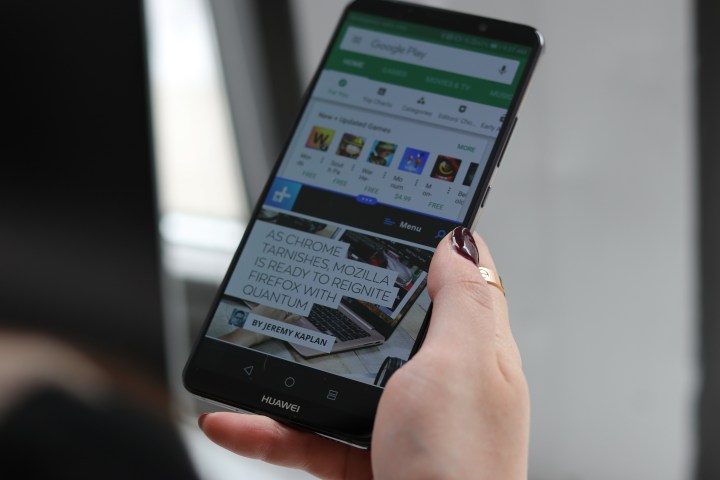
Huawei’s flagship smartphone, the Mate 10 Pro, is here, and it’s an impressive workhorse. The Chinese company dropped the bulky metal chassis on the Mate 9 for for the beautifully refined all-glass design that features a nearly bezel-less design and a 6-inch screen.
But it’s more than good looks that make this phone great, as we spell out in our Mate 10 Pro review. The phone boasts a speedy Kirin 970 with an AI processor, a huge 4,000mAh battery, and an option of 4 or 6GB of RAM. The Mate 10 Pro zips through just about any task you can imagine. You’ll also find the latest version of Android 8.0 Oreo on board, over Huawei’s own EMUI 8.0 Android “skin.”
You can check out our Android 8.0 Oreo tips and tricks guide for new features in the latest operating system version, but here are our Mate 10 Pro tips and tricks to get the most out of your new phone.
How to use the camera app
The camera on the Huawei Mate 10 Pro offers a number of options to get a really great shot. Even though the Leica dual camera setup is impressive in and of itself, the Neural Processing Unit on the Kirin processor can help perfect your shot with real-time object recognition technology. If it detects food, for example, you’ll see a food icon on the bottom of the camera app and the camera will tweak the photo to make it look great. But there are a lot of different camera modes you can try out, like monochrome, which captures everything in black and white. To get there, simply open the camera app and swipe right. Tap on one of the modes, including Night Shot, Light Painting, and Slow-mo, and that’s all you need to do to use it.
In addition to all of the modes in the camera app, there are a few useful features that are hidden in the camera settings. You can set up a grid on the viewfinder screen, or save images with the RAW format. To access the settings, just swipe left in the camera app.
The camera also has Wide aperture and Portrait shooting modes. Both modes are similar, capturing photos with a reduced depth of field, resulting in a bokeh effect The difference is Portrait mode has a beauty filter that allows you correct small blemishes. Both Portrait mode and Wide aperture are located in the top menu bar to the right of the flash icon
If you want to take the reins of your camera completely, you can use Pro mode. Mimicking the functions of a DSLR, Pro mode allows you to adjust ISO, aperture, light balance, and shutter speed. To access the Pro mode, just click on the arrow menu bar located directly above the shutter button.
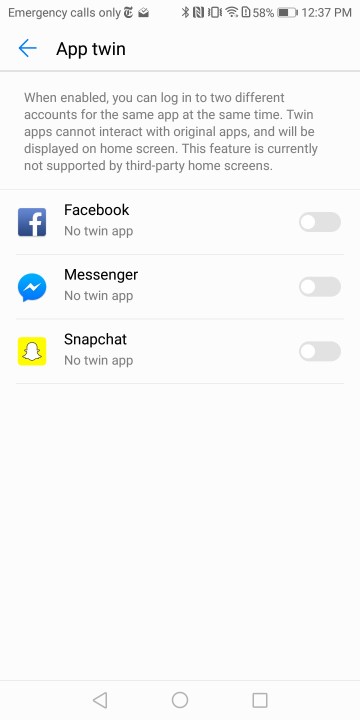
How to create two copies of an app
How to see more of your email

Like most Android phones, the Huawei Mate 10 Pro has two mail apps: Gmail and Huawei’s Mail app. While most people just add accounts to the Gmail app, it may be worth giving Huawei’s mail app a look because it takes advantage of the Mate 10 Pro’s 18:9 aspect ratio. When you rotate the phone horizontally, the Mail app shows multiple columns, including your inbox and a preview of your messages. To take advantage of this feature, simply make sure you have screen rotation lock turned off by swiping down the Quick Settings and clicking on the screen rotation icon.
How to use Desktop Mode
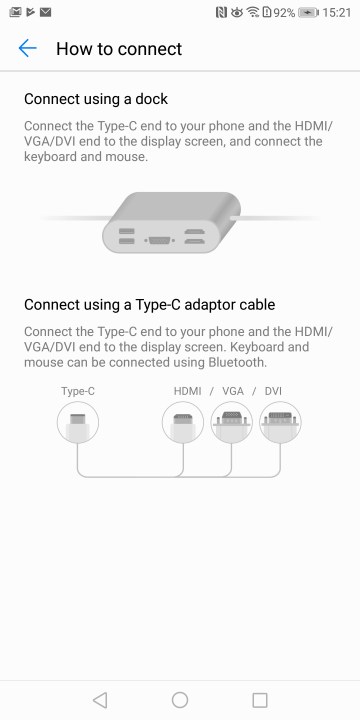
Desktop Mode allows you to use the Huawei Mate 10 Pro as a pseudo computer replacement. While the Galaxy S8 offered a similar feature, the Mate 10 Pro doesn’t require a special dock. To use Desktop mode, simply connect your phone to an external display with a HDMI to USB-C cable. Once you’re connected, you’ll see a desktop screen that looks a lot like Windows. When you connect your Mate 10 Pro to an external monitor, your phone’s display will become a makeshift mouse, or you can continue to use the Mate 10 Pro as a smartphone and still work separately on the desktop.
How to lock your apps
Worried about people sifting through your messages or social media accounts? The Huawei Mate 10 Pro has a feature called App Lock that allows you to lock down just about any app on your phone. To set up App Lock, go to Settings > Security & privacy > App lock. When you enable the feature you’ll need to create a PIN or security pattern. Once you have the PIN or pattern setup, you can then enable fingerprint access.
How to use knuckle gestures
Sometimes it’s nice to have two apps open at the same time. While a lot of Android phones offer split screen mode, you can set up a gesture on your Huawei Mate Pro 10 to turn it on quickly. To set up the split screen gesture, go to Settings > Smart assistance > Motion control > Split screen and toggle the feature on. Once the gesture is set up, you’ll just need to drag your knuckle across the screen to enable split screen mode.
With gestures, taking screenshots on you phone is equally simple. With Smart Screenshot enabled, you can capture scrolling screenshots, record the screen, or even capture a section of the screen. To enable Smart screenshot open Settings > Smart assistance > Motion control > Smart screenshot. You can tap the screen with your knuckle twice to capture a screenshot quickly; if you want to capture just part of the screen, draw around the area with your knuckle. For scrolling screenshots, draw an S with your knuckle. A double knock with two knuckles will record your screen.
Want to open a specific app with a gesture? You can easily open four apps on the phone by using your knuckle to draw the specific letters. To set up this feature you just need to go to Settings > Smart assistance > Motion control > Draw. Tap to select an available letter and select that app you want to associate with the gesture.
How to reduce eye fatigue
Eye Comfort allows you to filter out some of the blue light on your phone that can contribute to eye fatigue. When you turn on Eye Comfort, you’ll notice the screen takes on more of a yellowish tone. This feature is great to use when your eyes are tired from looking at your screen too long, or when you’re using your phone in bed. Enabling Eye Comfort is simple. Go to Settings > Display > Eye comfort. You can then toggle the feature on or schedule the feature to come on at night.
How to change your home screen
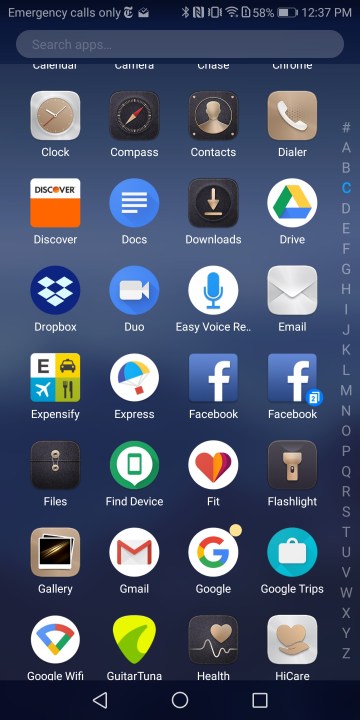
The Huawei Mate 10 Pro runs Android 8.0 Oreo, but it features Huawei’s own EMUI Android “skin” or theme. The theme defaults to a standard home screen setting where you swipe left or right to see installed apps. If you’d rather have an app drawer setup, like the Google Pixel 2, you can change the home screen style in the settings. You’ll need to open Settings > Display > Home screen style. Select Drawer style.
How to use your voice to answer calls
Google Assistant isn’t the only thing you can activate with your voice on the Mate Pro 10. You can also set up voice commands on your phone to answer or reject calls. To enable voice commands, you’ll need to go to Settings > Smart assistance > Voice control. Use the toggle to turn on the Answer with voice control feature.
How to set up PrivateSpace
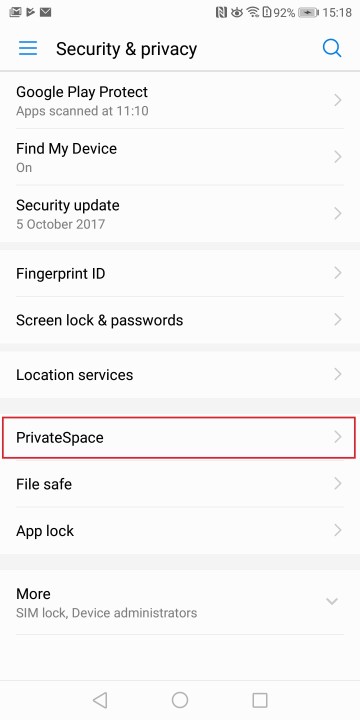
While many phones offer an option to set up a separate user or guest account, the Mate 10 Pro has a feature called PrivateSpace that allows you to set up an entirely private account. It can even be opened by using a different fingerprint. It’s a great way to set up different spaces for your work and home life, or if you share the phone with more than one person. PrivateSpace is hidden pretty deep in the settings menu. To set it up, go to Settings > Security and privacy > PrivateSpace. Press the login button and set up a new fingerprint for your PrivateSpace screen.
How to save your battery
Even though the Mate 10 Pro has a huge 4,000mAh battery that can last two days, we still recommend charging it every night. If you forget to charge or find yourself running low, the Mate 10 Pro has two battery saving options located in the same place. Power saving mode will extend your battery by limiting the background activity of apps, disables auto-syncing, system sounds, and reduces visual effects to conserve energy. Ultra power saving mode is much more aggressive, limiting the number of apps you can use, turning off location services and darkening the interface. To turn on these features, open Settings > Battery. You can then select Power saving mode or Ultra power saving mode.

