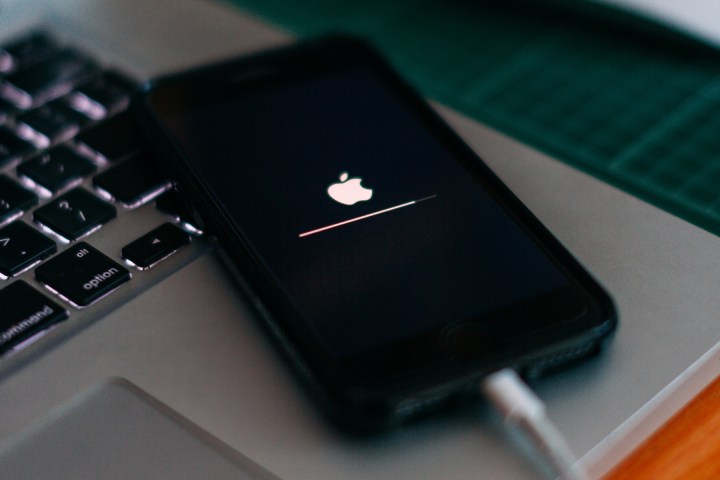
While we're long past the days where a wired USB to Lightning connection was necessary to install iPhone software updates, sometimes it's still an easier way to go — for example, if you have a limited data connection and no Wi-Fi available. And if you run into the dreaded "iPhone Unavailable" error, you may not have any other option but to plug your iPhone in and restore it to factory settings the old-fashioned way.
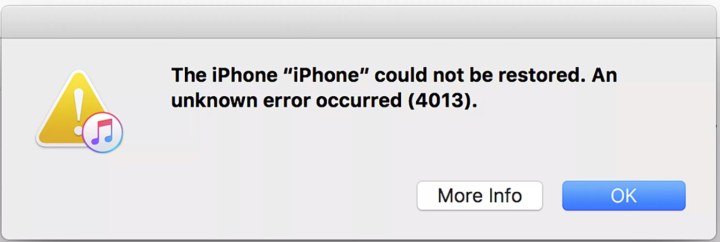
While this process runs smoothly most of the time, there are scenarios where you may run into a snag. Unfortunately, when this does happen, the error messages can be somewhat inscrutable, offering little help other than to tell you that "An unknown error occurred" and showing a numeric code that gives you little insight into what that "unknown" problem could be. Chief among these is error 4013.
The good news is that the causes of these errors can often be very easy to fix — once you know where to look, that is. Unfortunately, since they cover a broad range of possible problems, Apple can't really point to any one thing in the message, which is why it simply flags it as an "unknown" error. However, there are a few troubleshooting steps that you can try that will more often than not resolve error 4013, and even some of its cousins like 4005 and 4014.

What is iPhone error 4013?
Error 4013 indicates a communication problem has occurred between your device and your computer. The message can show up when restoring anything from an iPod classic to the latest iPhones, and it basically means that iTunes (or Finder in later versions of macOS) failed to communicate with your device properly.
Of course, there can be a lot of reasons for this. Unplugging your device in the middle of a restore will often result in a 4013 error, as will a bad USB port, a dodgy cable, driver problems, and more. Hence, there's no one place to look, but if you cover a few of the following bases, you can rule out the most common causes for this error.

Restart your iPhone, iPad, or iPod Touch
Sometimes the cliche is true: turning things off and back on again really does fix everything. Rebooting your Mac or PC should therefore be a first step, but don't forget to also restart the device that you're trying to update or restore from that computer. How to do this varies depending on which device you're using.
Step 1: Here's how to do it for a 2017 or later iPhone model, which includes the iPhone 8, iPhone 8 Plus, iPhone SE (2020), iPhone SE (2022), and all Face ID-equipped iPhones, as well as all iPad models without a front Home button:
- Press and quickly release the volume up button.
- Press and quickly release the volume down button.
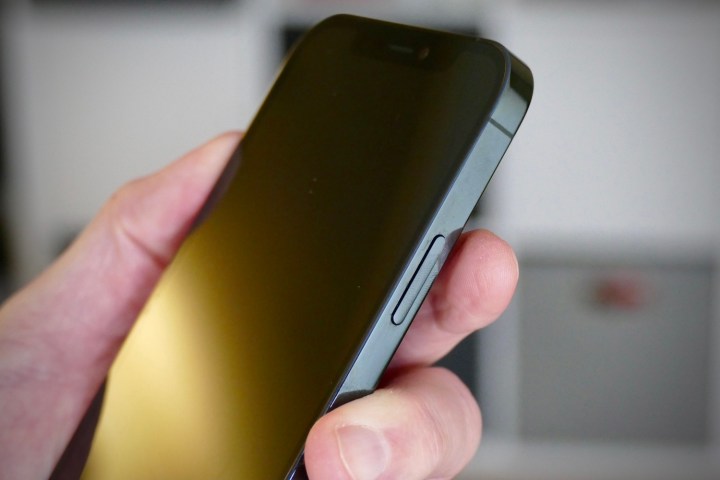
- Press and hold the side or top button until the device restarts and you see the Apple logo appear.
Step 2: For the iPhone 7, iPhone 7 Plus, and iPod Touch (7th generation), press and hold both the side/top button and the volume down button simultaneously until you see the Apple logo appear.
Step 3: For the iPhone 6s, iPhone SE (2016), and earlier models, as well as the iPod Touch (6th generation) or earlier and all iPad models that have a home button on the front, press and hold both the side/top button and the home button simultaneously until you see the Apple logo appear.
Step 4: Once your iPhone, iPad, or iPod Touch has finished restarting, unlock it with your passcode, connect it to your computer, and try restoring or updating it again.

Install the latest version of iTunes
If you're running Windows or macOS Mojave (10.14) or earlier, you should ensure that you've downloaded and installed the latest version of iTunes on your Mac or Windows PC that's appropriate for your operating system. As of this writing, that's iTunes 12.12.9 for Windows.
Note that this won't apply if you're using macOS Catalina (10.15) or later, as iTunes is no longer used to manage iPhones, iPads, and iPods on these more recent operating systems. Instead, you can restore your device through the macOS Finder app, which is a core part of the OS.
Step 1: If you're using Windows 10 or later: If you downloaded iTunes directly from the Microsoft Store, you can also check for updates from there. To do this, open the Microsoft Store app and choose Get Updates.
If you installed iTunes directly from Apple's website, you can check for updates and download the latest version from inside the iTunes app. To do this, open iTunes and choose Help > Check for Updates from the menu bar at the top.
Note that if you're installing iTunes fresh on Windows 10 or later, it's strongly recommended that you grab it from the Microsoft Store, as that provides the latest available version. You can only download iTunes 12.10.11 (64-bit) or the 32-bit version directly from Apple. These are also compatible with Windows 7 and Windows 8.
Step 2: If you're using macOS Mojave (10.14) or earlier, you can check for the latest version of iTunes through the built-in Software Update mechanism or download it directly from Apple's iTunes Downloads page. The correct version of iTunes depends on which version of macOS or OS X you're using, as follows:
- If you're using macOS Mojave (10.14), iTunes is bundled with macOS, and iTunes 12.9.5 — the last version of iTunes to be created for the Mac — is included in the final 10.14.6 Mojave release; it's not available as a separate download.
- If you're using macOS High Sierra (10.13), download iTunes 12.8.3.
- If you're using macOS Sierra (10.12) or OS X El Capitan (10.11), download iTunes 12.8.2.
- If you're using OS X Yosemite (10.10.5), download iTunes 12.8.1 .
- If you're using OS X Mavericks (10.9), download iTunes 12.6.2.
- If you're using OS X Mountain Lion (10.8.5), download iTunes 12.4.3.
- If you're using OS X Lion (10.7), upgrade your system to OS X Mountain Lion (10.8.5) and Download iTunes 12.4.3. iTunes 12.2, which is the latest version supported by OS X Lion, is not officially available as a separate download.
- If you're using OS X Snow Leopard (10.6), download iTunes 11.4.
Apple also offers iTunes 10.6.3 and iTunes 9.2.1 for even older versions of OS X, but if you have to go that far back, we'd strongly recommending finding a computer that can handle a newer version of iTunes, as these aren't likely to support any iPhone or iPad that's been released in the past five years anyway.

Update your operating system
Regardless of whether you're using a Windows PC with iTunes or a recent version of macOS, you should also ensure that your operating system is fully up to date with the latest Windows updates or macOS software update. This is especially important with macOS, since many of the components that are used to communicate with your iPhone are in the underlying operating system.
Step 1: If you're using Windows 10 or later, you can check for updates by going to Settings > Update & Security > Windows Update.
Step 2: For macOS Ventura (13.0) or later, check for updates by selecting the Apple menu in the top-left corner of your screen, and then selecting System Settings > General > Software Update.
On macOS Monterey (12.0) or earlier, this is found under System Preferences > Software Update from the same Apple menu in the top-left corner.
Step 3: Follow the steps to download and install any updates your computer finds, and then try restoring your iOS device or iPod after the updates have been applied and your computer has restarted.
Note that if you're doing a major macOS version update ending in macOS Mojave (10.14) or earlier, you should also check to ensure that you're running the latest version of iTunes that's appropriate for the new OS. For example, after updating from Sierra to Mojave, you may need to go to Software Update again to get iTunes 12.9.5.

Put your device in recovery mode
If you're encountering error 4013 while trying to restore your device back to factory settings, you may be able to get things working by forcing your iPhone, iPad, or iPod Touch into recovery mode. This is a hardware-level mode that bypasses the normal iOS/iPadOS method of interfacing with your computer, which can help if the error is being caused by a software glitch on the device side.
Step 1: Follow the steps in the previous sections to ensure that your computer operating system and iTunes (if applicable) are updated to the latest versions.
Step 2: Reboot your Mac or PC.
Step 3: Connect your iPhone, iPad, or iPod Touch to your computer using a USB cable. Ignore error 4013 or any other errors that come up. Quit iTunes if it opens automatically after connecting your device.
Step 4: If you're running macOS Catalina (10.15) or later, open Finder; otherwise open iTunes (or reopen iTunes if you quit it in the previous step).
Step 5: Keep your device connected to your computer while performing the following steps, depending on the model of your device. Note that these are the same steps described in the section on restarting your device; the difference in this case is that you're doing them while your iPhone, iPad, or iPod Touch is connected to your computer.
For a 2017 or later iPhone model -- including the iPhone 8, iPhone 8 Plus, iPhone SE (2020), iPhone SE (2022), and all Face ID-equipped iPhones -- press and quickly release the volume up button, then do the same with the volume down button, and then press and hold the side button until you see the recovery mode screen appear.
For the iPhone 7, iPhone 7 Plus, and seventh-generation iPod Touch, press and hold the top/side button and volume down buttons simultaneously until you see the recovery mode screen appear.
For the iPhone 6s and iPhone SE (2016) or earlier models, press and hold both the home and top/side buttons simultaneously until you see the recovery mode screen appear.

Step 6: Once the recovery mode screen appears, your device should appear in Finder or iTunes with a pop-up that indicates there's a problem with your device "that requires it to be updated or restored." Select either Update to attempt to install the latest version of iOS/iPadOS on your device without erasing it, or Restore to return it to factory settings.
If an update fails, you can repeat the above steps and try the Restore option instead. This will erase everything on your iPhone, iPad, or iPod Touch, returning it to brand new settings, after which you can set it up from scratch and choose to restore a backup from your computer or iCloud, if you have one available.
Other steps you can try to fix error 4013
Since this is a communications error, there are several other things that could be getting in the way of a successful restore of your iPhone, iPad, or iPod.
Step 1: Check your USB cable. Ensure you're using an Apple-certified Lightning or USB-C cable — the one that came with your device should work — and that it's undamaged. Try a different cable if you have one on hand. While any reputable brand-name cable should also work fine, many of the cheaper aftermarket Lightning cables you'll find in stores are designed for charging your device and may not handle data transfer properly.
Step 2: If you're using a Windows PC, ensure that your drivers are up to date. You can check for Windows driver updates published through Microsoft under Settings > Update & Security > Windows Update; however, if you don't see anything new here, it's worth also visiting your PC manufacturer's website and seeing if they have any driver updates available for direct download. You'll want to focus particularly on USB and "chipset" drivers, as these are the ones most likely to impact communication with your iPhone, iPad, or iPod.
Step 3: Temporarily disable any antivirus or other tools that attempt to scan the devices you connect to your PC. These can get in the way of iTunes communicating properly with your iOS device or iPod. You're unlikely to need these while restoring your device, and if that fixes the problem, you can always reenable them when you're done.
Step 4: Try restoring from a different computer if you have access to one. This will help to determine if the problem is with your PC or Mac or your iPhone, iPad, or iPod. If the problem persists across multiple computers and with different cables, it's probably your device, at which point it's time to reach out to Apple Support for help.


