The cost of investing in photography can be overwhelming. But while the latest gear and accessories can cost a pretty penny, there are many affordable accessories you can call on to spice up your images. As you’re likely to be stuck inside right now, it’s the perfect time to experiment with some cheap camera hacks. Many of these involve household items you likely already have.
You may need to think outside of the box, but that’s kind of the point.
1. Make bokeh with a prism or LED lights
Bokeh (which is simply the Japanese word for “blur”) refers to the quality of the out-of-focus areas of a photo. While what makes bokeh good is largely a matter of opinion, the softer, creamier, and more colorful it is tends to make it better in most viewers’ eyes. Bokeh shows up in the natural world all the time, especially if you have filtered sunlight or point light sources in your background that turn into overlapping, blurry disks — but there are plenty of ways you can create your own bokeh simply by holding things in front of your lens.
Commonly used objects for this include triangular prisms, crystals, colored gels, and battery-powered LED twinkle lights. Reflective surfaces can also create some cool effects, and you likely already have a few of them lying around, like a makeup mirror or the screen on your phone. You should generally try to hold the object as close to the front of your lens as possible which will help make sure it’s fully blurred. For those who don’t mind spending a bit more, the Lensbaby Omni filter system gives you a hands-free way to use prisms, gels, and other “effect wands” in front of your lens.
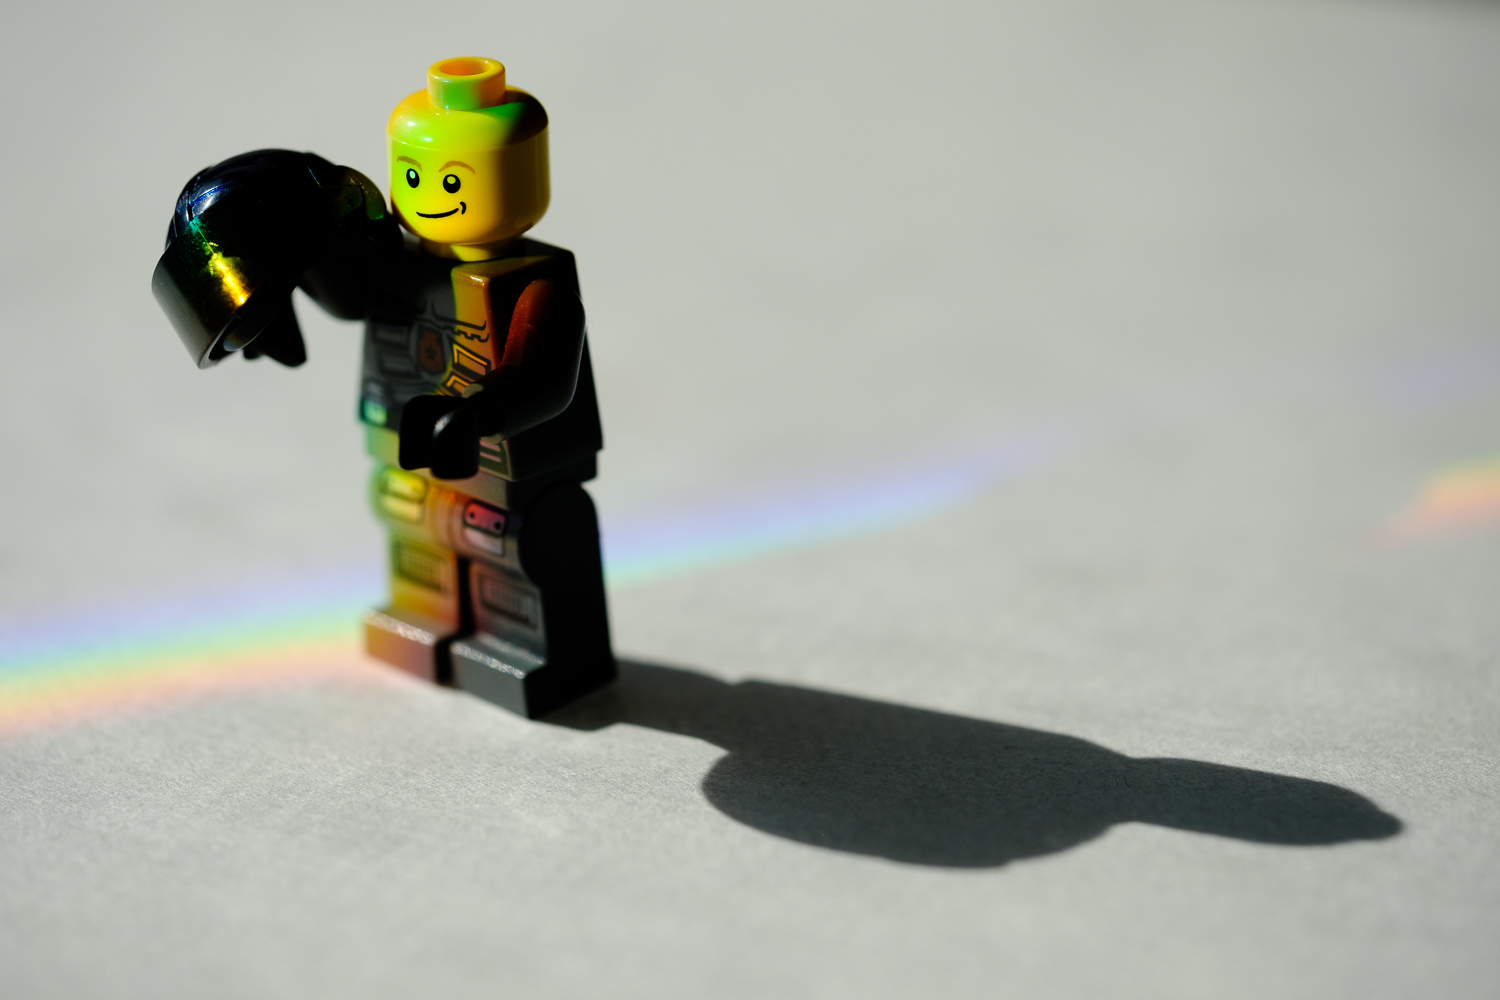
For maximum effect, start with a lens with a wide aperture so you can achieve a shallow depth of field. You can often pick up a low-cost prime lens that usually has an aperture of f/1.8 to f/1.4, but in a pinch, your kit lens will do. To make sure the prism, gel, light, etc. is sufficiently blurred, we recommend setting the lens to the widest aperture, but feel free to experiment here. For reflective objects like prisms and mirrors, be sure to try them in different positions and angles — sometimes a subtle change causes a surprisingly big difference in the look of the effect. A prism can also be used to refract light into a rainbow and have it fall over your subject; it takes a bit of practice to get it right, but it’s well worth the effort.
Tip: Bounce some neon lighting off of the prism. It will give your photograph more depth and color!
2. Use an extension tube for macro photography
If bugs, flowers, and scarily expensive jewellery are your thing, then you’re going to want to experiment with macro photography. Most photographers use a specialized macro lens for this, but, as you probably guessed, such lenses can get very expensive. But there’s a much cheaper way to get high-quality macro shots: an extension tube.
An extension tube slots in between your lens and camera body. This alters the focusing characteristics of the lens so that it can now focus on objects much closer (but it loses its ability to focus farther away). The longer the extension tube, the closer the lens can focus. There are extension tubes you can buy, like this three-piece set from Kenko, that offer electronic communication and even retain autofocus with some lenses, but you can also make your own out of a cheap plastic tube (see the video above).
Tip: If you want to make your own extension tube, you’ll need a fully mechanical lens that lets you adjust aperture and focus without an electronic connection to the camera — but you don’t need to worry about it being the right mount. Try picking up an old Nikon F-mount or Canon FD-mount manual focus lens on KEH or eBay and you can use it as a macro lens on just about any DSLR or mirrorless camera.
3. Turn a window into a softbox
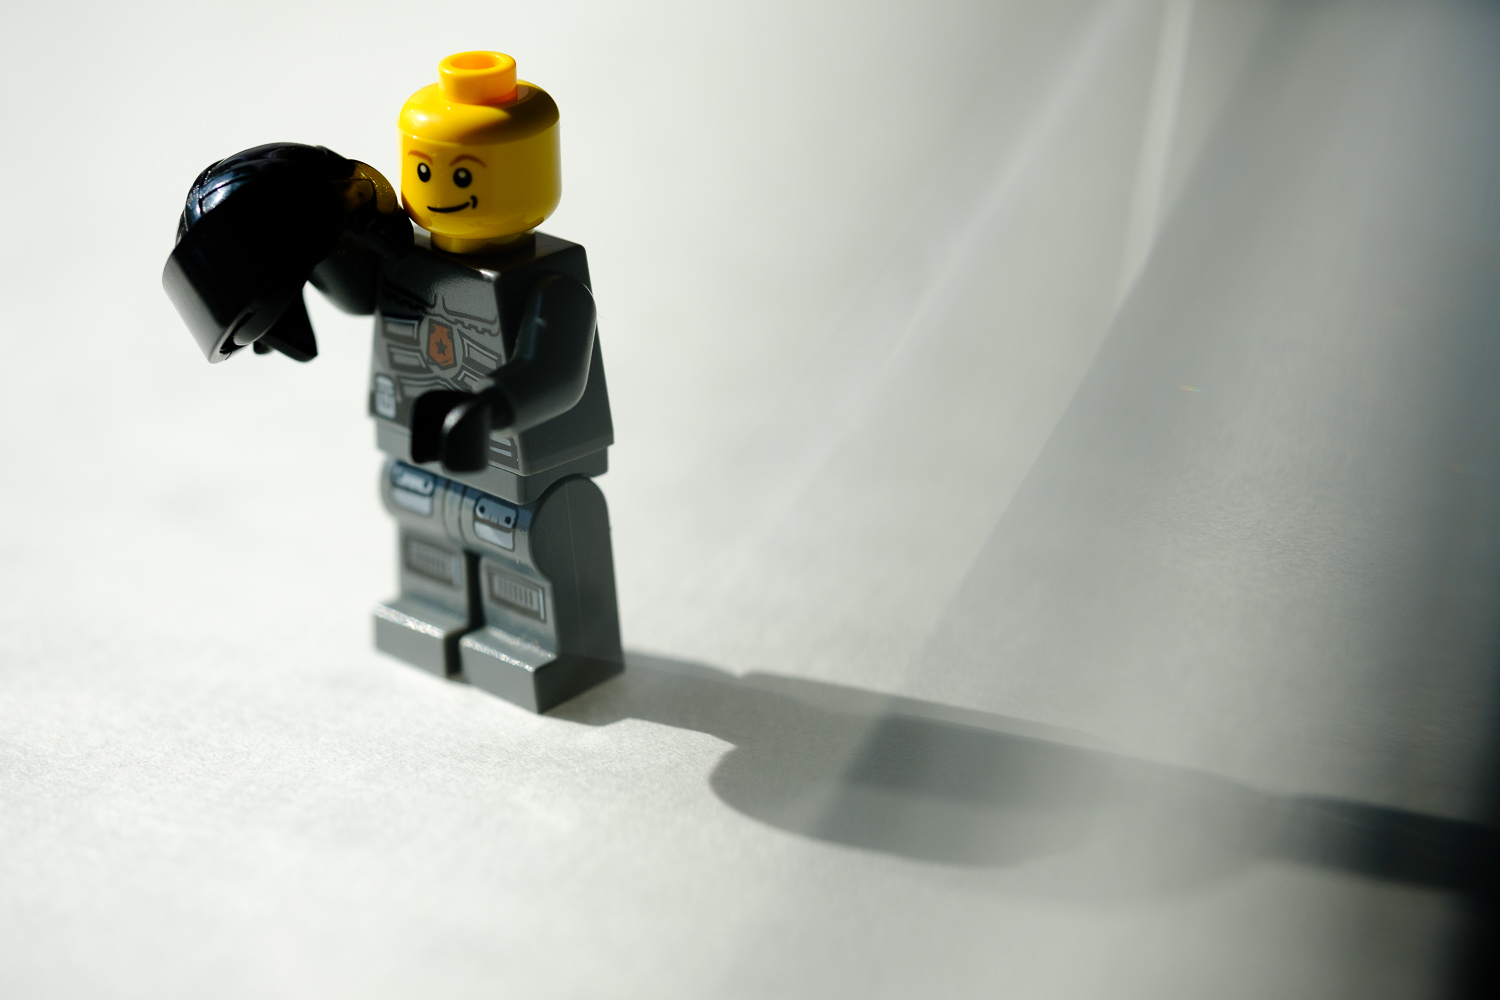
A window can be surprisingly useful for creating studio-quality light without the studio. However, it is also difficult to control, and direct sunlight that passes through a window and lands on your subject can easily be too harsh. To fix this, turn the window into a large softbox by adding some diffusion — by which we mean plain white paper. Simply tape the paper over the window, sit your subject next to it, and watch that soft, even light beautifully illuminate them. A white sheet might also do the trick, so long as it’s not too thick. If you have someone at home with you, ask them to be your muse so you can shoot some natural light portraits.
Tip: Mix the color of your paper up. Try a green layer and then a blue layer on top of it. You will get some interesting tones in your portraits.
4. Use a colander for cool lighting
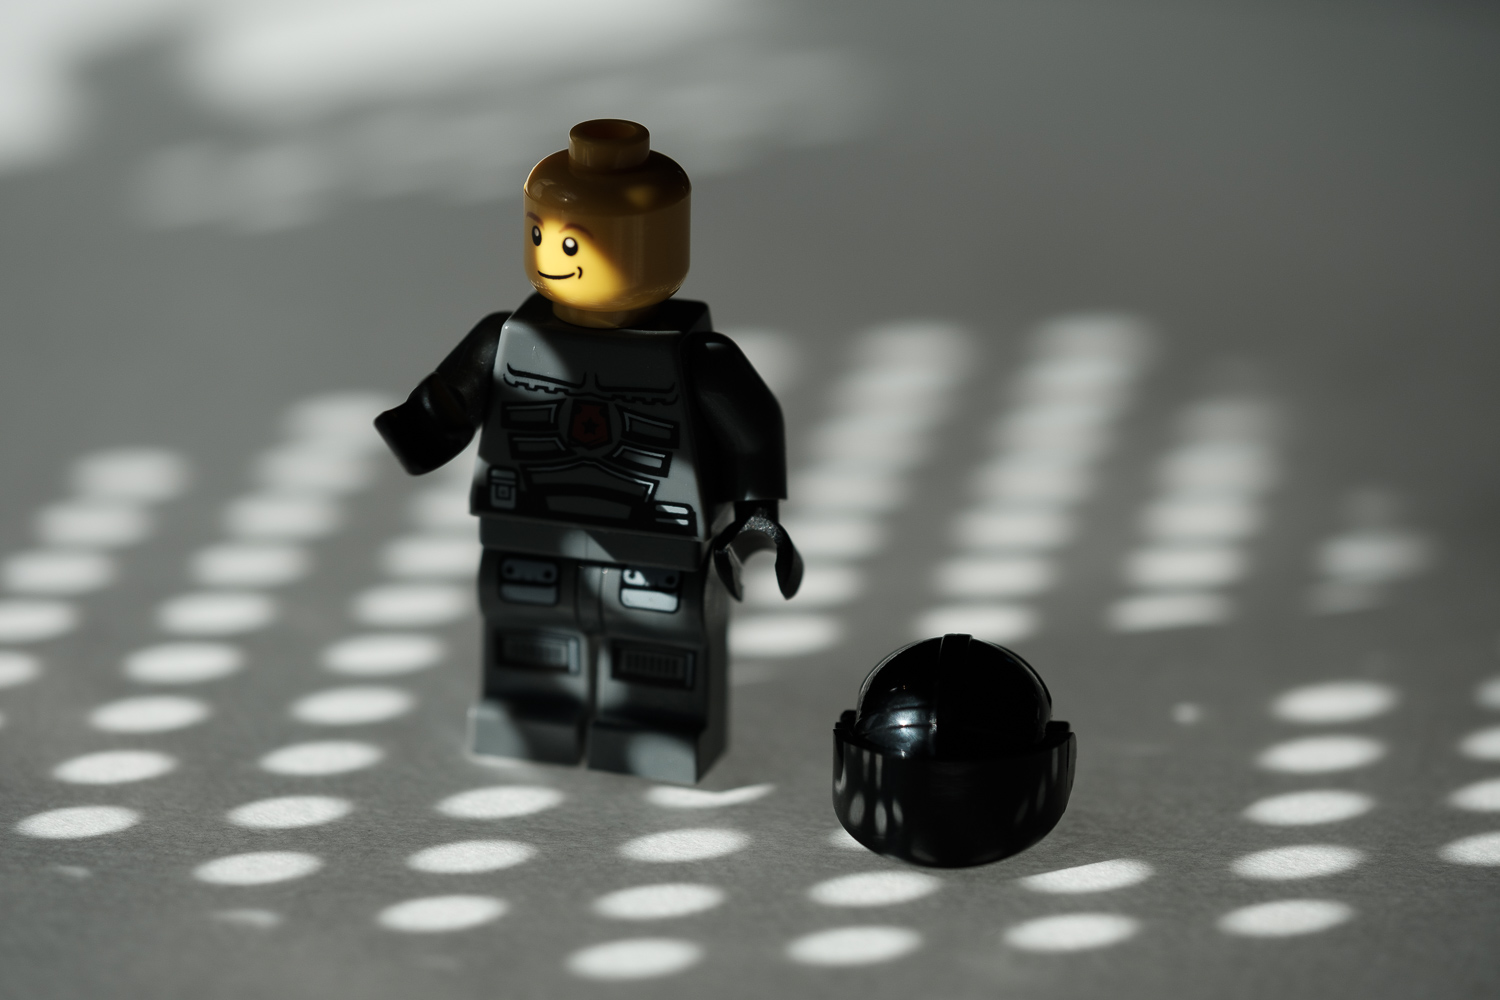
We’ve all got one, but did you know a colander can be used for more than straining pasta? Place one over a lamp, flashlight, or other light source to project a creative shadow pattern onto your subject or the background. This is a good way to inject some drama into an image or add some texture to an otherwise dull surface. It takes a while to get it just right, but it it’s still easier than cleaning one of these things.
Tip: For the DIY crowd, you can make other interesting shadows by cutting custom shapes out of a piece of cardboard. In the cinema world, such a device is called a cucoloris.
5. Use your sunglasses as a filter
Forget Instagram filters and give your photo that warm, retro look right in the camera by using your sunglasses. Position one of the sunglass lenses in front of your camera lens and take the shot. This technique can give your photograph a lovely, warm golden aesthetic (or another color, depending on the glasses used). In a pinch, sunglasses can even fill the role of a neutral density (ND) filter, allowing you to shoot a slower shutter speed to blur motion, or to partially cover the lens to even out differences in exposure. Polarized sunglasses will also work as polarizing filter, darkening the blue of skies and reducing reflections. Sure, you’ll get much better results with the real thing — but where’s the fun in that?
6. Freelensing

Freelensing is the economically savvy person’s answer to an expensive tilt shift lens, or at least a Lensbaby. To use the freelens technique you simply detach your lens from your camera. You still keep it in line with your camera’s sensor, but having it detached gives you more control of which parts of your frame are out of focus. You can veer your lens to the left or right or tilt it up or down, which will change the angle of the focal plane and add creative blur into your photo while still (hopefully) keeping your subject sharp. Since there is no longer a seal between the lens and camera, you will also experience some light leaks, but if you’re creative enough, you can use these to your advantage and give your image a more artistic feel.
This technique is best used with older, fully mechanical lenses with manual control over both focus and aperture. If you want to try freelensing for yourself but only have newer lenses that need to a connection to the camera to work, you can pick up a used lens for pretty cheap. On the plus side, if you’re only concerned with buying a lens for freelensing, you don’t need to match it to your camera’s mount — you can freelens with a Nikon lens and a Canon body, for example.
Tip: If your image is completely out of focus, bring your lens slightly closer to your camera mount. As with using an extension tube, the farther you hold the lens from the camera body, the shorter its focus distance becomes.
7. Turn old plastic bags into creative tools
We all have stashes of plastic bags hidden away in dark cupboards somewhere, so why not put them to use? There are many camera hacks you can do with a plastic bag. Trap some air in it and hold it in front of your flash to diffuse the light, softening up the shadows and creating a much more flattering look for portraits. Or cut a whole in it and stick the lens through, ensuring it covers the outer areas of your glass. This will lead to a hazy, cloudy bokeh effect that you can use to frame your subject.
Tip: Use colored bags for different effects, or use markers to add color to a clear bag.

