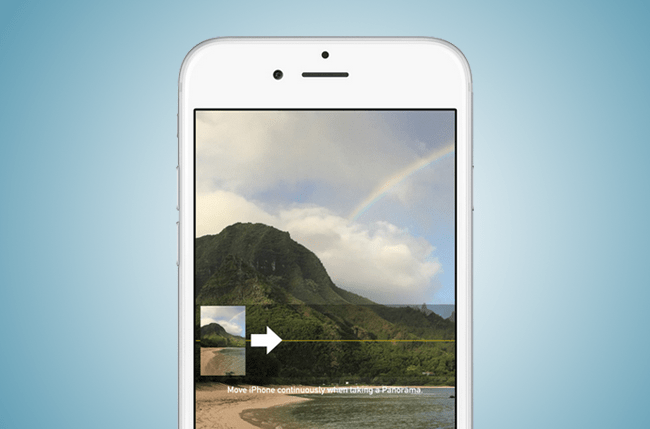
Apple is no novice when it comes to panoramas. The company first implemented the ability to capture the wide-field-of-view shots with the introduction of iOS 6, thus capitalizing on the success of third-party apps like 360 Panorama within its own, native software.
The feature works as you might expect, seamlessly stitching together a slew of individual photos within a quick succession to create a single image, allowing you to capture scenes once strictly limited by what’s visible through the iPhone lens. Apple even furthered the feature’s capabilities with the introduction of the iPhone 6 and 6 Plus, letting users capture high-resolution photos at up to 43 megapixels with a dynamic auto exposure that automatically adjusts as you shoot for more clarity than ever before.
It’s still limited, sure, but it’s never been easier to capture a sprawling portrait of Yosemite Valley — and an unwanted flight of tourists — with the iPhone. Check out the guide below to find out how.
Note: Although the screenshots below are from an iPhone 5 running iOS 8, the process is exactly the same on the iPhone 6 and 6 Plus, along with any other iPhone capable of running iOS 7 or later.
Related: Our favorite photography apps for the iPhone and the best apps optimized for the iPhone 6.
Launch the Camera app
Capturing a panorama on an iPhone isn’t hard. Tap the gray camera icon while viewing the home screen, or tap the camera icon and swipe up while viewing the lock screen, to launch the Camera app. Afterward, continually swipe left until you access the iPhone’s native panorama mode, indicated by the word Pano in yellow at the bottom.

Choose the panning direction
Once you’ve decided upon your desired shot, choose whether you’d like to pan your phone from left or right to capture your image. The Camera app will prompt you to pan left to right by default, but you can always tap the white arrow in the center of the screen to switch the panning direction. Note that panorama only works in portrait mode.
Capture the panorama
Tap the Shutter button at the bottom of the frame and slowly move your iPhone continuously in the direction of the aforementioned arrow, keeping the arrow centered on the resulting yellow line as you do so. You’ll be warned if you’re moving too quickly; moving too fast might cause the iPhone to miss some information. Your iPhone will automatically save the panorama in your camera roll like any other photo or video once you tap the Shutter button again or the arrow reaches the opposite edge of the screen. Then, launch the Photos app as you would normally to view your shot in its 240-degree glory! Panorama works best with stationary or slow-moving objects; the camera tends to have difficulty capturing fast-moving objects and properly stitch them together.


