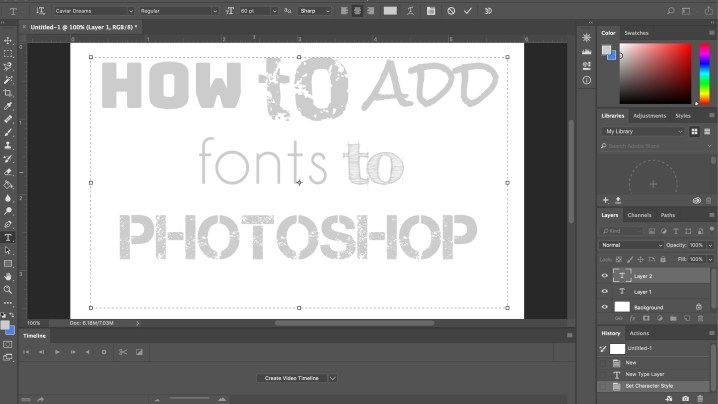
Photoshop may have “photo” in its name, but it is designed for all manner creative possibilities, including working with text. It’s also expandable, not limited to the fonts that come pre-installed or are already on your computer. This is good news, because those stock fonts aren’t good enough for you, are they? Of course not. You need a font that stands out because you have a message that needs to stand out, and Times New Roman won’t cut it. Fortunately, adding a font to Photoshop is easy, but there are a couple of ways to do it, which vary slightly depending on your operating system.
Using Typekit to add Fonts to Photoshop
Adobe Typekit is a font library for Creative Cloud that includes both free and paid options. The nice thing about using Typekit is that the font automatically syncs to all your Creative Cloud programs across all of your computers, and fonts can also be synced to your system to be used by non-Adobe programs.

1. Access Typekit
First, make sure you are connected to the internet to use Typekit. Then, from inside Photoshop’s menu bar, navigate to Type > Add Fonts From Typekit. (Another alternative is to click on Add Fonts From Typekit at the top of the font drop-down menu.) Typekit will then open inside a web browser.
2. Find your font
Using the Typekit search and navigation, find a font you like. When you head to Typekit directly from the Photoshop app, you’re automatically taken to the page that includes fonts that are part of your Creative Cloud subscription — you’ll see “My Library” selected at the top of the page. Use the filter tools at the right to help find a font you like.
You can navigate outside My Library to the Full Library and Marketplace, but the fonts located in these spots aren’t all included with the Creative Cloud plan and will require additional purchases. If you’re looking for free fonts, stay inside the My Library option.

3. Open the font and sync.
Once you’ve found a font you like, open the font page to see all the varieties. To download the entire font family, and click the “sync all” button all the top. If you only want one font in the family, just click the green sync button next to the name of the individual font.

4. Wait for the sync to finish
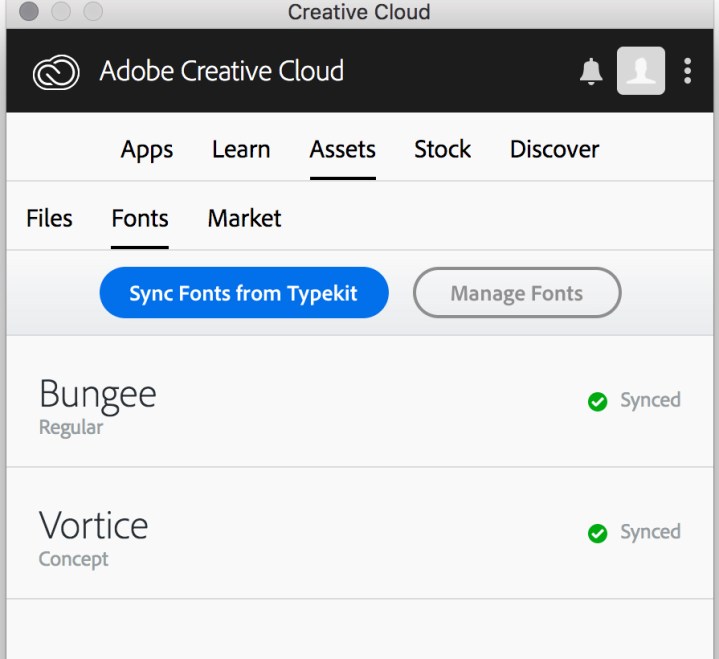
Typekit will automatically sync to your Creative Cloud apps. Make sure your Creative Cloud app (not just Photoshop, but the app that checks for updates) is open and that you are logged into your account. Wait for the sync to finish — if you’ve enabled Creative Cloud notifications, you’ll get a pop-up when the sync is completed. You can also check on the status of a font inside the Creative Cloud app by navigating to “assets” and then “fonts.”
5. Use your font
Once the font has synced, it will be available in the Photoshop font drop-down menu. You can also make it easier to find by clicking on the Typekit or Tk icon to see only the Typekit fonts. Some programs need to be restarted before accessing the font, but Photoshop isn’t one of them.
Installing a downloaded font to Photoshop
Photoshop isn’t limited to just Typekit fonts — you can download and use almost any font from any location, like Font Squirrel, which offers a large selection of free fonts. Photoshop supports fonts with a file name that ends with .otf, .ttf, .pfb, and .pfm and even variable fonts. Once you’ve downloaded the font, however, there is a process to add the font to Photoshop, and it won’t be automatically synced across your different computers. The exact steps will vary between Mac and PC systems. (Working on an older computer? Adobe has instructions for older operating systems.)
On MacOS X
1. Quit Photoshop, if it’s already running
It’s a good idea to close other active applications, too, at least those where you’ll want to use the font.
2. Find the font
By default, the font probably landed in your Downloads folder unless you changed the destination when downloading the file. Open the download folder in the Finder and locate the file. If the file was downloaded as a .zip, double-click it to decompress it.
3. Preview and install
Double-click the font file (it should end in .otf or .ttf) to open it in Font Book. Here, you can preview the font to confirm it’s what you want. Simply click the Install button and it will now be available to any application.
By default, Font Book will install fonts to a single user’s directory. If you have multiple users on your machine and want the font to be available to everyone, you can change this behavior in the Font Book preferences, by selecting “Computer” as the default install location.
Installing a font to Photoshop on a Windows PC
1. Find the font
Open the folder that you downloaded the font to and locate the font. If the font comes in a zip file, decompress the file first.
2. Select and click install
Highlight all the fonts that you want to install — you can do more than one at a time. Shift-click will select an ordered group, control-click will select fonts that aren’t right next to each other. With the fonts selected, right click and choose install.
You can now open Photoshop (or any other application) to confirm the font is installed correctly.
And that’s it!
Well look at you, titan of typefaces. You’re ready to take your DIY e-card, wedding invite, or motivational poster to the next level. But fair warning: Entering the world of aftermarket fonts can quickly turn into a long fall down a dark rabbit hole. The broad range of options available can make a designer’s dream come true, but the overwhelming number of choices means that finding the perfect font is just shy of impossible. So remember to breathe — and good luck out there.


