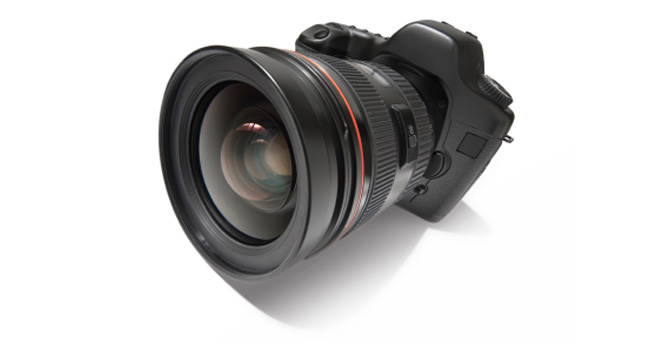
All right! You’ve made the commitment and purchased a DSLR. Now that you have your shiny toy, it’s time to make the most of your new photographic instrument. And like any instrument, you have to master some skills in order to make it sing—or in this case, take great photographs. Here’s some sound advice for any DSLR, from the most affordable to out-of-sight professional models.
Read the Manual
We know we sound like an old high school teacher, but in order to get the most out of your camera, you have to know what all the buttons and dials do. This advice will go a long way toward maximizing your experience. Whether you’re a seasoned pro or a first-time DLSR buyer, you have to delve deeply into the owner’s manual, because every camera is different. Otherwise, you’re just skimming the surface of the camera’s capabilities, which is a shame if you’ve just dropped $750 or more. Keep it handy, read it in chunks, but go through it all.

Take a Class
We can hear the groans again but if you’re not familiar with the intricacies of photography, it would well worth your while taking a class in person or online. Check out BetterPhoto.com to see what’s available. Also many of the top DSLR brands offer local classes plus they have online tutorials to walk you through their cameras. The more you know and the more familiar you become with your camera, the better your photos will be.

Go Beyond Auto
Every DSLR has an auto mode. It’s a good place to start as you get the feel of the camera and become comfortable with the control layout (see steps one and two). Once you’ve shot for awhile, it’s time to spread your wings with scene modes, which are similar to the scene modes found on point-and-shoots. With these shortcuts the camera will make the appropriate adjustments for a specific subject (portrait, sports, landscape and so on). They’re baby steps, but the more photos you take, the more confident you’ll become.

Unleash Your Inner Child
And by this we mean play with all of the major image components available to you, including exposure compensation, bracketing, white balance, contrast, saturation, sharpness—the whole nine yards. You’ll be pleasantly surprised at the results you’ll get from tweaking images to your vision. Depending on the camera, you may want to under- or overexpose your photos all the time to suit your taste (exposure compensation), you may prefer less sharpness – or more. The list goes on. It’s up to you. And don’t be afraid to go crazy taking tons of photos. Our best photography teacher urged our class to just shoot 10 rolls of film – at anything and anywhere – every week for a month. We even had to develop our own film and make piles of prints. It was a liberating experience, and really opened our eyes as to what personal photographic expression could be. There’s no excuse not doing the same thing with digital.

Take Notes
You can go analog (pen and pad) or digital (iPhone apps), but it’s important to note the adjustments you made to each practice photo so you’ll know exactly how you tweaked the image when you review them. There’s nothing worse than forgetting your settings. Of course, you can check out the file’s metadata, but that usually doesn’t show all the adjustments. Once you’ve examined your photos on the monitor (make sure they’re enlarged at least 50 percent) you’ll know which tweaks worked best. You’ll also see at what ISO digital noise becomes a problem, so you can avoid that option in the future.

By this, we mean immediately put your camera into continuous or burst mode. Depending on the model, you’ll shoot anywhere from three or more frames per second. You can capture kids on the run, birds on the wing – anything that moves – at full resolution, something few point-and-shoots can claim or do well. Burst mode is one of the best features of a DSLR. Use it.

Going Glass Crazy
Interchangeable lenses are another outstanding benefit of DSLRs. Kit lenses supplied with most models are 3x zooms ranging from around 28-88mm (in 35mm terms). If you like super wide-angles, or outlandish telephotos (600mm) you can purchase additional glass for your collection. Or you can buy a high-quality fast “prime” lens for portraits. Wherever your mind or credit limit goes, this is one of the simplest ways to make the most of your DSLR. Consider a 70-200mm or a 10-22mm as your second zoom, depending on your preference.

Shooting RAW
All DSLRs capture camera RAW files, but few point-and-shoots do. JPEGs are compressed to some degree, so image detail is lost. But with RAW, you save as close to an unprocessed image as possible. Think of a RAW file as a blank canvas, since you have to process it with the supplied software. It’s an additional step, but once you “develop” them, you’ll have a much better grasp of what color parameters make up a good photo. Once done, you’ll have a great file for making prints. Remember RAW files are huge, so purchase a high-speed, high-capacity card for your DSLR – at least 4GB or 8GB.

Accessories Make the Camera
It’s easy to bust the budget with DSLR add-ons. Don’t do it until you extensively use your camera. At that point, you’ll know what you really need, whether it’s a tripod, flash, polarizing filter… the list goes on. If you take a lot of indoor shots, a more powerful and adjustable flash makes a good investment, and will give your photos a professional appearance.

Take the Leap
Not off a cliff, but by turning the mode dial to M for manual. Here you can make f/stop (aperture) and shutter-speed adjustments at your command. You can also manually adjust focus for razor-sharp results. Just make sure you read the manual so you can make the most of your new toy’s capabilities.


